How to Unclog Keurig Coffee Makers
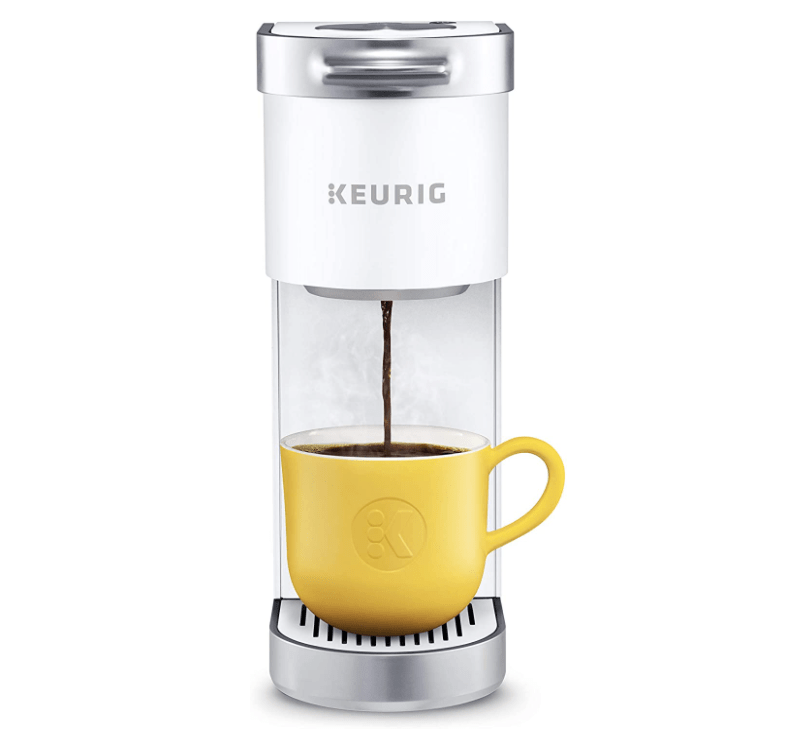
Keurigs have taken over for home coffee makers. Their ease of use and affordability make for the perfect machine for any home. Who doesn’t love great prices and great coffee? However, what do you do when your precious Keurig stops working? More specifically, what do you do when it gets clogged? Don’t get worked up quite yet. There is an easy fix to this dilemma.
We have some easy tips to help fix your clogged Keurig that we are going to share with you. Whether you have had your Keurig for quite some time or simply a coffee addict, clogs are bound to happen at some point, so even if you haven’t had this happen yet, it is good to know.
If you’re Keurig is currently clogged and not working properly, then we are sure you are looking for the quickest way to get it back it shape. With that being said, we have given you just that. For the quickest way back to your morning dose of caffeine, we have made a short step by step process as well as a supply list to get your Keurig unclogged and back running in no time. No fuss, only results!

Supply List
There is not a large list of supplies that you will need, luckily. In fact, all you need is:
- Your Clogged Keurig… obviously
- Warm Water
- Soap
- Paper Clip
- Wash Cloth
Simple enough. Grab these few supplies to get ready for your freshly cleaned Keurig.
Step by Step
1. Unplug
Anytime you are working with an electric machine, you should always unplug it from the wall before starting. That is no exception for a Keurig. The last thing we need is someone to get electrocuted on our behalf, so do us all a favor and remember to unplug your coffee maker.
2. Remove Parts
The goal is to bring the Keurig down to its bare bones. This means removing the water tank, the lid, and the coffee mug holder. If your Keurig has any other removable parts other than these three, go ahead and take those off as well. We are going to be moving the Keurig around a bit, so we don’t need any extra parts to go flying in the process.
3. Grab the Paper Clip
Next, you will need to straighten out your paper clip, leaving a large point. Next, find the small holes located at the top of the Keurig. This is where the clogging happens nine times out of ten. Slowly and precisely push the paper clip into the holes, breaking up any leftover debris from dirt or coffee grounds that could be causing the clog.
Do your best to get it all, so take your time. Wiggle the paperclip in the holes to break it up well. This has been known to have the most success with the method.
4. Flip it Over
Now that the debris is broken up, it’s time to flip the Keurig over. Don’t hit the Keurig, but tap gently to let any of the broken up debris fall out and find its way out of the clog. Again, be sure to tap gently. Hitting the Keurig can cause more issues with it working, and we don’t want to deal with any more than we have to. We also recommend doing this over the sink. If you are doing it correctly, there is going to be a lot of nasty, broken up debris falling.
5. Flip it Back
As you might assume, the next step is to turn your machine right side up. As always, do this with care. This will not damage the machine, but it is always better to lean towards caution, especially when dealing with precious items such as a coffee maker.
6. Wipe it Down
Grab your washcloth, wet it with some warm water, and add soap. Now wipe down the full exterior to be sure that there are no leftover crumbs or debris on the Keurig. Be sure to wring out the washcloth before wiping down the machine. If not, you can end up with a large mess of soapy water on your kitchen counter.
7. Put it Back Together
Lastly, it is time to put your machine back together. Grab each of those parts you removed in step one and attach them. If you would like, you can run them through the dishwasher beforehand to ensure that you have a fully cleaned machine as a final product. When you have washed them and reattached them, you are all finished! You can now get back to your cup of joe to make your morning, afternoon, and any time in between a little bit brighter.


