How to Descale A Keurig
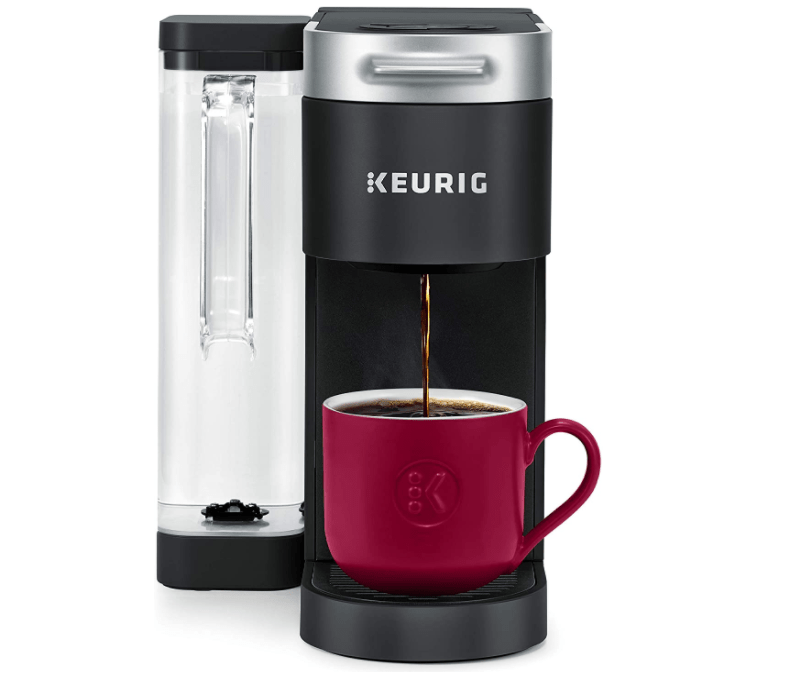
As much as we hate to admit it, Keurigs do need a bit of maintenance, just like any other coffee machine. If that comes as a shock to you, then you are very lucky you stumbled on this article. Your Keurig is most likely in desperate need of a cleaning.

Luckily, the cleaning process, also known as the descaling process, is pretty simple. So simple that we are going to give you all that you need to know about how to descale a Keurig in this one short article. So get ready to revive your Keurig back from the grave in just a few steps!
What You’ll Need
Here are the critical cleaning products you will need:
- Clean Cloths
- White vinegar/Keurig Descaling Solution
- Fresh water
- Dish soap
- Keurig needle cleaning tool
-
How to Clean a Keurig
These five cleaning products are all it takes to give your Keurig the bit of extra love it deserves. Keep this on hand at all times. There are two steps of cleaning a Keurig: every day clean and the descaling clean. Descaling only needs to happen once every 3 months, depending on the use of the machine. Here is a step by step guide of each:
Daily
- Unplug the machine. We don’t want anyone getting electrocuted.
- Remove the water filter if it has one. This is one of the factors of a Keurig that most people forget about or don’t even know exists. This should be changed about every three months. It is a crucial part of keeping your coffee tasting good and brewing good quality. Like always, the amount of use your Keurig gets can make the number of water filter changes fluctuate, so use your own judgement.
- Remove any removable parts and rinse them with water and dish soap. This includes the water reservoir, drip tray, and anything else that is removable. Certain Keurigs have more or less than others. If you are in a rush and they are dishwasher safe, you can run them through a cycle instead. Be sure to check your specific Keurig to make sure of this beforehand.
- Wipe down the entire Keurig with a wet cloth. Like anything in the kitchen, it needs a bit of extra love to prevent grime and build up. This takes only a few seconds but can be the difference between a shiny or grimy Keurig.
- Clean the piercing needle on the Keurig with your special tool. This is vital to keep your machine up and running properly and definitely one of the most underrated parts of Keurig upkeep. It will make all the difference once you give it a good cleaning.
-
Descaling
- There are two options for descaling your Keurig. You can either use the descaling solution made for a Keurig or you can descale your Keurig with vinegar. Decide which of the two you want to try. Both are effective, so it really comes down to preference. Lucky for you, the cleaning process is the same for each.
- Fill the water reservoir with equal parts water and cleaning solution (white vinegar or Keurig descaling solution).
- Run the Keurig like you would for any cycle. Be sure to have a large mug to catch the excess water and cleaning solution. This is going to help loosen all the built-up gunk inside the machine that your daily cleaning won’t reach.
- Pour out the mug and continue running the brew cycle until the water reservoir is empty. We want to make sure the Keurig is fully cleaned out.
- When it is finished, let it sit for at least 30 minutes with the machine on. Those pesky build-up spots need some time to loosen up.
- Rinse out the reservoir well. We don’t want any remnants of solution or vinegar in our next cup of coffee. Be as thorough as possible.
- Run a cycle or two with regular water to make sure there isn’t any leftover solution inside of the machine.
- Now your Keurig is ready to go! If it was not working properly or dispensing unevenly, this should have fixed it. If not, there may be another issue with your Keurig, check out our other articles on Keurig maintenance issues to fix the root of the issue. We can’t have our beloved Keurig failing us now!
Whether you decide to use the Keurig descaling solution or white vinegar, the effects of descaling your Keurig make all the difference in the world. Now go give your Keurig that deep clean it has needed for quite some time and watch the quality of your coffee shoot through the roof. You’ll thank us later.


