How To Drain a Keurig in 5 Easy Steps
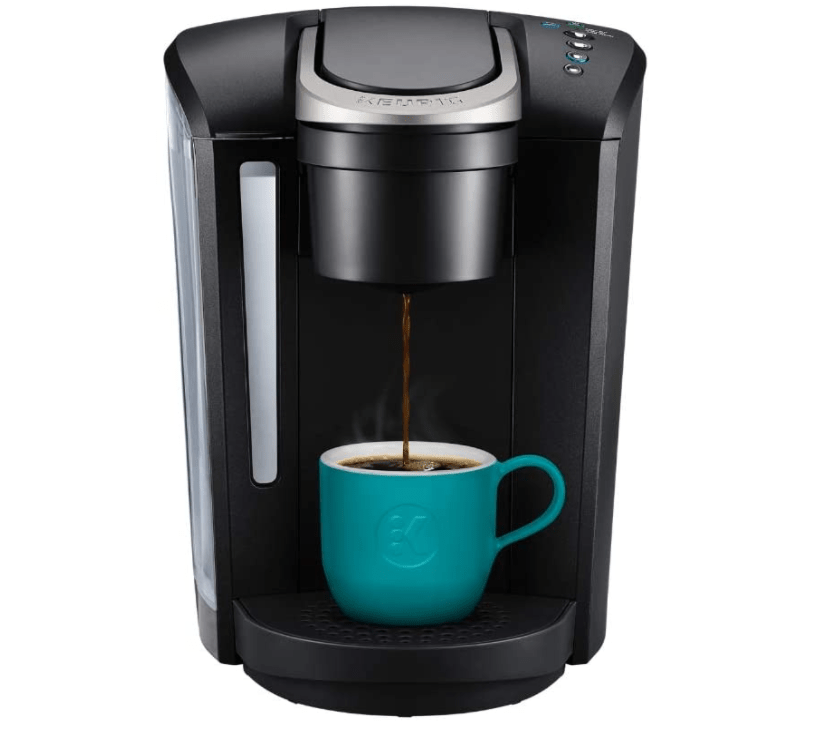
Keurigs are quite common in the world of coffee machines, but you’d be surprised how many people don’t know how to operate them properly, despite their easy-to-use features. If this is you, don’t worry. You aren’t alone. We are going to help you learn everything you need to know so that you can start using your Keurig to its full capacity. First things first, let’s talk about how you drain a Keurig.
First, you may be asking why would I need to drain a Keurig in the first place? There are a few scenarios where draining your Keurig would be smart. Although it may not have crossed your mind, Keurig’s water can get stale, resulting in a subpar cup of coffee.

Maybe you’re moving and don’t want to have a giant spill. Or maybe you leave your Keurig out in the camper and have a frozen water reservoir after a week back at home. For whatever reason, it’s smart to drain your Keurig fully if you aren’t going to be using it within the next day or two just to be safe.
How to Drain a Keurig
Now, let’s talk about how to empty a Keurig. It’s a tad bit more than just dumping out the water and calling it a day.
1. Unplug
First and foremost, be sure to unplug your Keurig and give it time to cool down completely before you do anything. This is a crucial step, so be sure not to forget this one. Trust us, you don’t want an electrical mess.
2. Drain
Now it’s time to empty the water reservoir fully. Pull out the reservoir and dump out the water. Simple as that. Hang on, though. We aren’t quite finished yet.
3. Unscrew
Next, there is a small plug on the back of the Keurig that opens the internal water reservoir. Unscrew this full to let the water inside drain. This will have a tube, so you can set a pitcher underneath it to help with draining. This will most likely be a slow trickling out, so be sure that all of the water inside of the Keurig is drained. Place the plug back on.
4. Plug in and Brew
Now, plug the Keurig back into the wall and try to brew a cup of coffee. Repeat this process until no more water comes on. Hopefully, this will only take one round, but you can always do an extra round just to be safe.
5. Trick the Sensor
If you run into an issue with step 4, it may mean that you need to trick the sensor in order to make it happen. Find the floating magnet and move it away from the sensor to give off the illusion that there is water in the reservoir so the machine will brew. This may take a few minutes to find, but it’s there.
6. Clean the Machine
A bit of an optional step in the process, but a great time to do so, clean your machine. This will ensure that your Keurig will run for as long as possible and help prevent any build-up that could potentially clog the machine. You may need to repeat a few steps after the fact to ensure that the Keurig is fully emptied, but might as well do it all in one sweep.
Conclusion
There you have it. Simple enough. Draining your Keurig is not that hard after all. Follow these few steps and your Keurig is guaranteed to have a much less musty aftertaste in your coffee. It also won’t have any freezing or spilling in the near future. Next time you decide to take your Keurig on the road, give this a try and watch how much simpler life can be!


